
Alias Signature Support
Signite supports managing both Google Workspace’s user aliases and domain aliases on our platform.
Signite lets you deploy a user’s signature to all its aliases without adding to your total users count, or manage unique signatures and templates per alias (adding to your users count).
Use the following guide to help you set up, manage and deploy your signatures if you have aliases set up on your Google Workspace account:
1. Enabling Alias Support on Signite
In order to allow Signite to support your user aliases follow these steps:
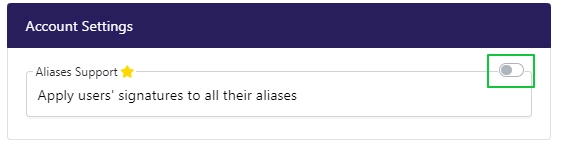
1.1. In your account’s settings page, check the aliases support checkbox
If you’ve already deployed a signature to one or more of your users, you’ll need to re-deploy for the aliases to get the signature.
* Please note that aliases support is limited to the premium packages.
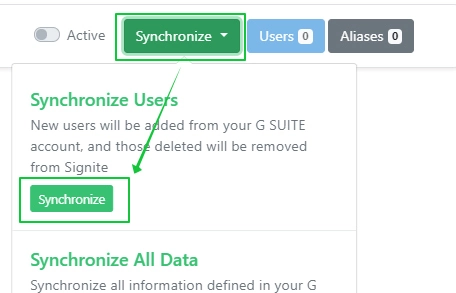
1.2. Synchronize your domains, users and aliases.
Go to your Domains screen, and synchronize all available domains by choosing the Synchronize dropdown menu, and under Synchronize Users, choosing Synchronize.
This needs to be done for each domain separately.
After synchronizing each domain, you’ll be able to see the amount of available aliases for the relevant domain.
Make sure to check that every synchronized domain is set to active.
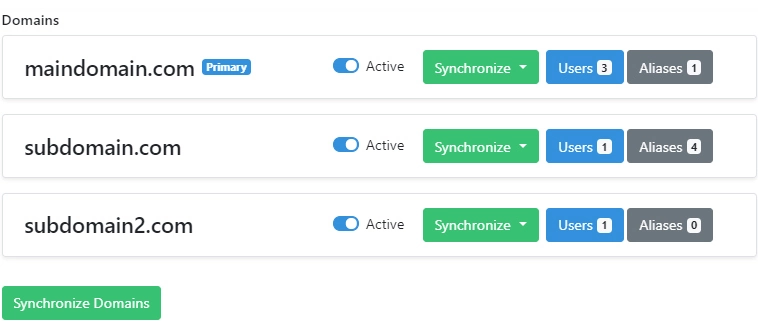
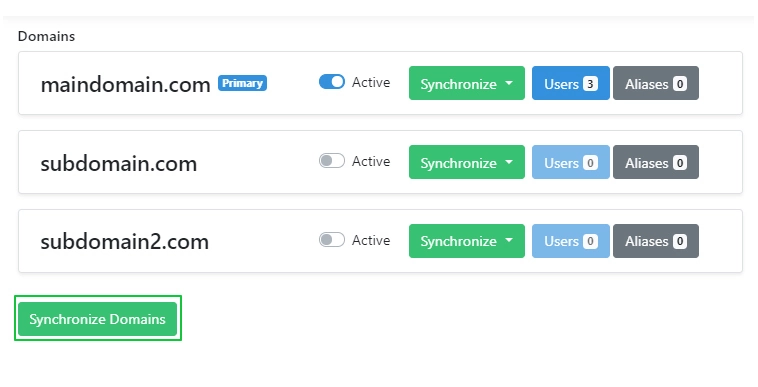
If you have an existing account, and added new domains, you’ll need to synchronize your domains by using the Synchronize Domains button on the bottom left of the domain list.
Afterwards, you’ll need to individually synchronize each domain’s users, including the primary one.
1.3. On your users list, you can now see which user has aliases
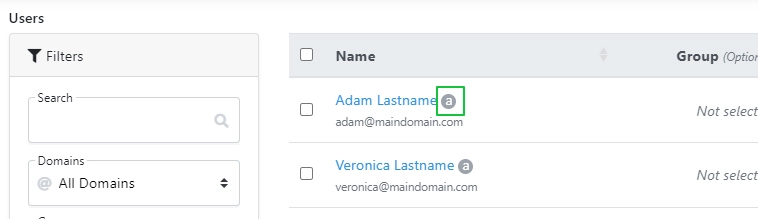
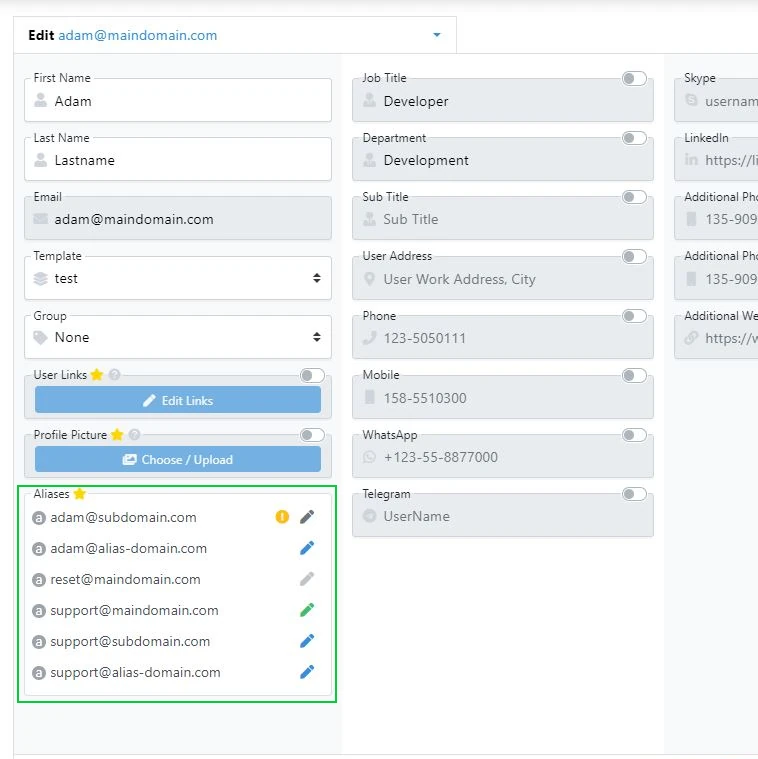
You can also see the users’ aliases by editing the specific user and seeing its list of aliases.
On deployment, all of these aliases will receive the same signature as the main user.
After setting the aliases support up, creating the templates, and editing users’ details, you can deploy the relevant users’ signature from the users screen.
2. Domain aliases support:
In order to support domain aliases, follow the aforementioned steps, and while synchronizing and activation your normal domains, activate each domain alias in the domains list screen.

Once activated, you’ll be able to deploy the user’s signature to both the main user email address, and their alias address.
2.1. Removing signatures from user aliases after deactivating an alias domain
If you’ve deactivated a domain alias in Signite, and wish to remove signatures related to that domain from your users, go through your users list, and reset those who had email addresses linked to that domain, so that the signature is removed from the alias
After resetting, redeploy the user’s signature, and refresh your Gmail for the changes to apply.
3. Managing unique signatures per alias
By default, you can automatically deploy the main user’s signature to all of its aliases.
In order to manage a unique signature for any individual alias, go to the main user’s drop down menu and choose the linked alias from there.

Once chosen you can uncheck the overwrite checkbox to open the alias up for individual editing and deployment.
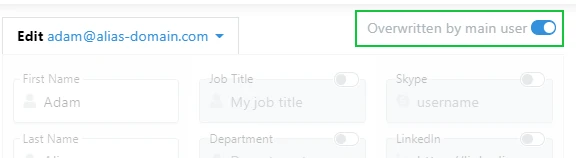
While editing a unique alias signature, you may edit user details, assign a different template, and deploy the specific alias separate from the other users / aliases on your account.
Note that while aliases using the same signature as their parent do not count towards your account’s total users count, each alias using a unique signature does.
3.1. Removing a unique signatures from an alias
If you need to return an alias’s unique signature back to the parent user’s signature,
first go to the specific alias‘ management screen and choose the Reset button
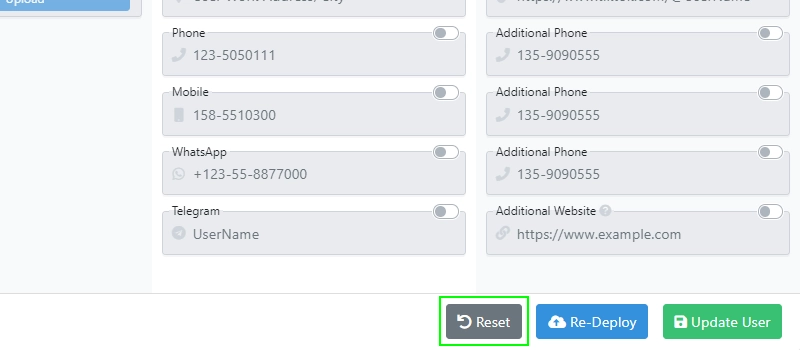
Once reset, the alias no longer has a signature attached to it, and will no longer count towards your account’s total users count.
In order to re-add the parent signature to this alias, go back to the parent user, and click the Re-Deploy button.
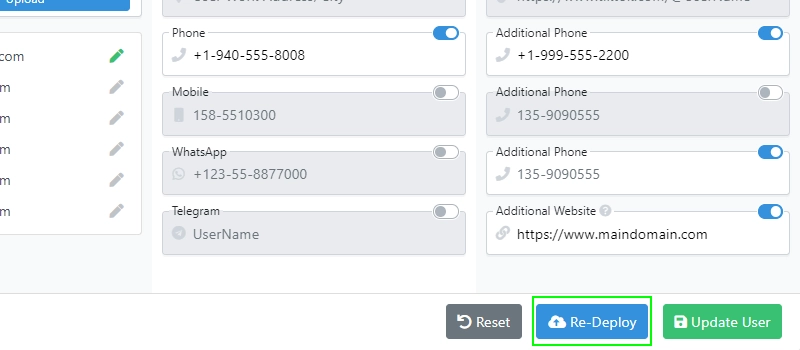
This now assigns the parent user’s signature, with the appropriate email and user name, to the alias’s Gmail signature.
3.2. The different alias/user status options
While editing the different aliases and users, you may encounter differently colored editing icons.
Here is what they mean:
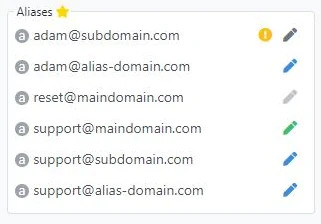
Light grey pencil: No signature has been deployed to this user / alias.
Blue Pencil: The main user signature has been assigned and deployed to this user / alias.
Dark Grey Pencil: A unique signature is assigned to this alias / user, but has yet to be deployed.
Green Pencil: A unique signature has been assigned and deployed to this user / alias.
4. Important: Make sure to set up your aliases’ Gmail permissions
Before synchronizing your aliases with Signite, make sure that the aliases set up on both your Google Workspace and on Gmail.
On Gmail, go to your settings, and under Accounts, click the Add another email address link
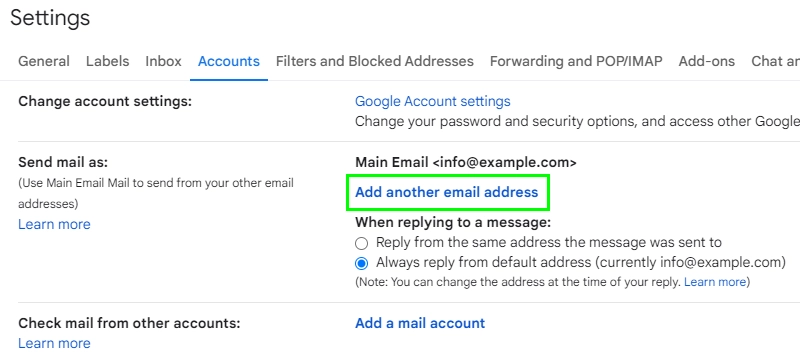
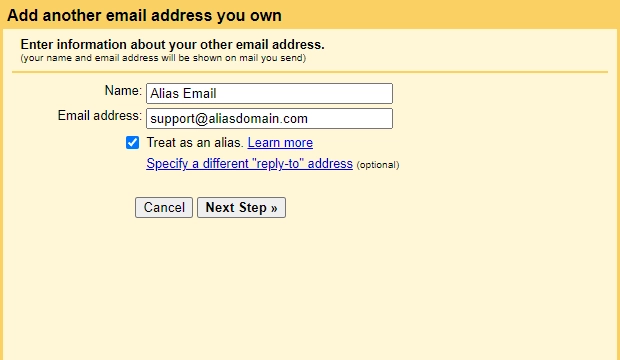
And add the alias address to the Email address field on the popup window.
This will make sure that Signite can assign and deploy a signature to that address after you synchronize your account.
If you have any questions, please contact us at support@signite.io