How do I edit and set a signature template with Signite?
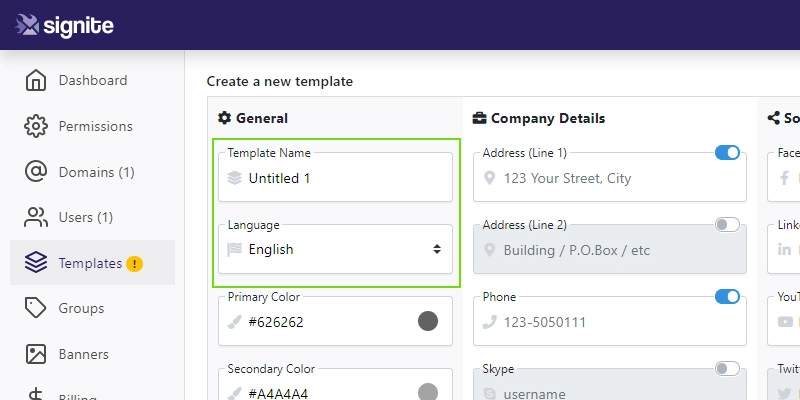
To start editing your signature template, go to the Templates screen. If you’ve yet to create a template, the Create a new template window will open automatically.
If you have other templates already, click the blue New Template button to create a new one.
Follow these steps to set the new template up before assigning it to your users:
1. Select the name of the template and desired language.
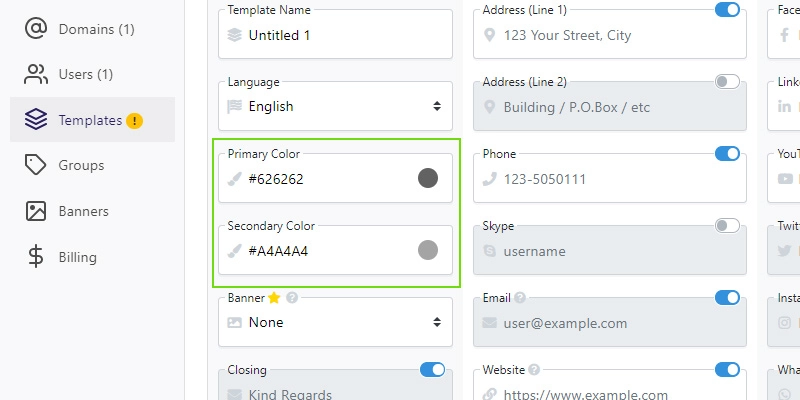
2. Select the colors to match your brand
3. Select a display banner (Banners should be uploaded ahead of time via the “Banners” screen)
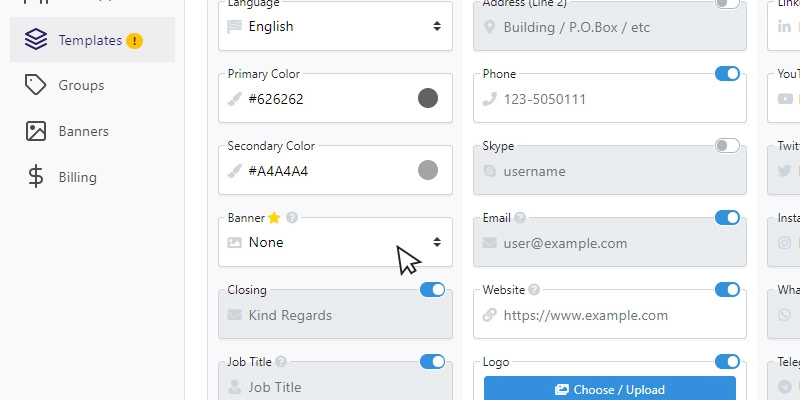
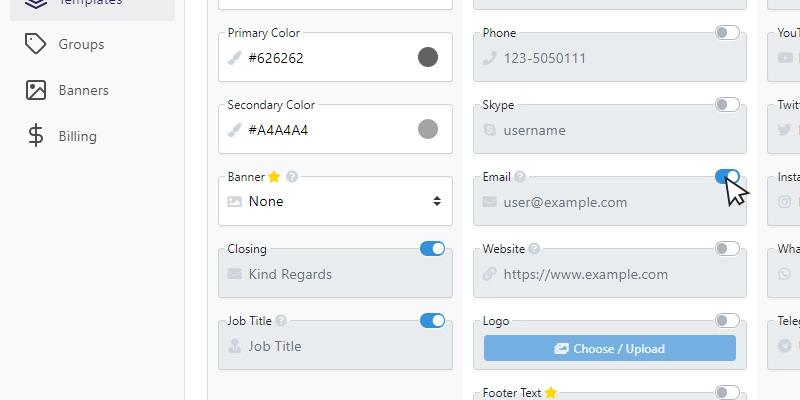
4. Choose whether to display the Closing statement and Job Title

5. Fill in the Address, Phone number and/or Skype username
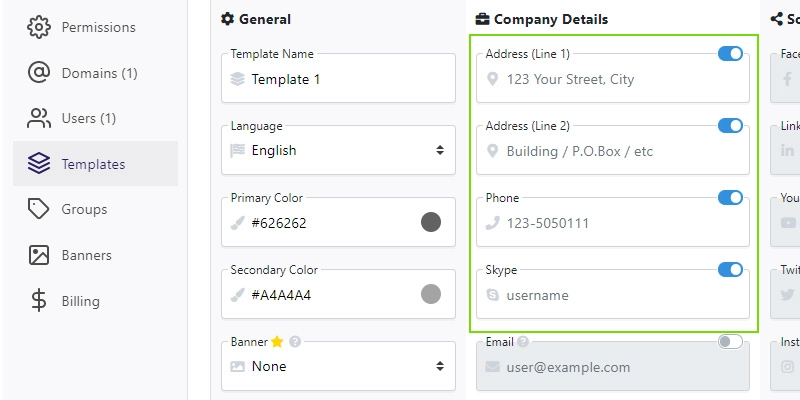
6. Select signature email display (The email address itself will be automatically displayed per user)
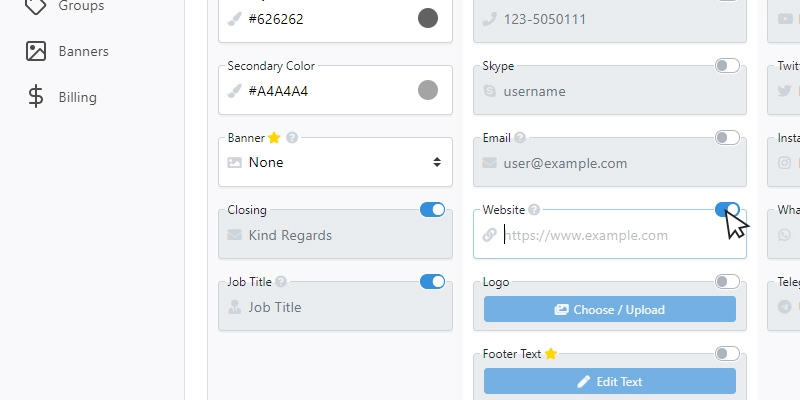
7. Fill in your website address
8. Select and upload a logo (The system automatically adjusts the size of the image)
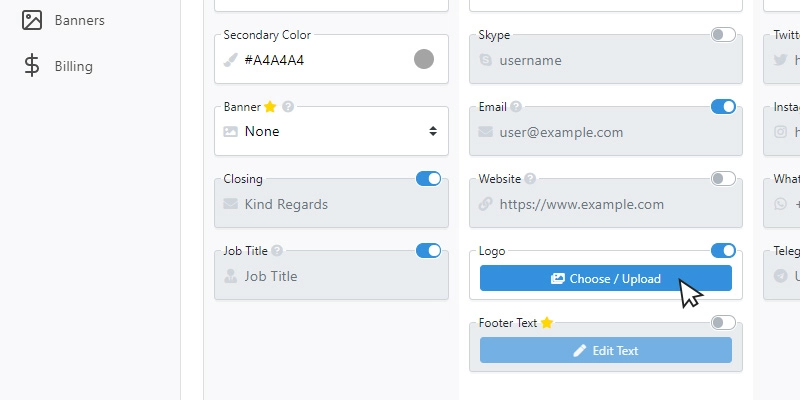
9. Add the optional additional text at the bottom of the signature
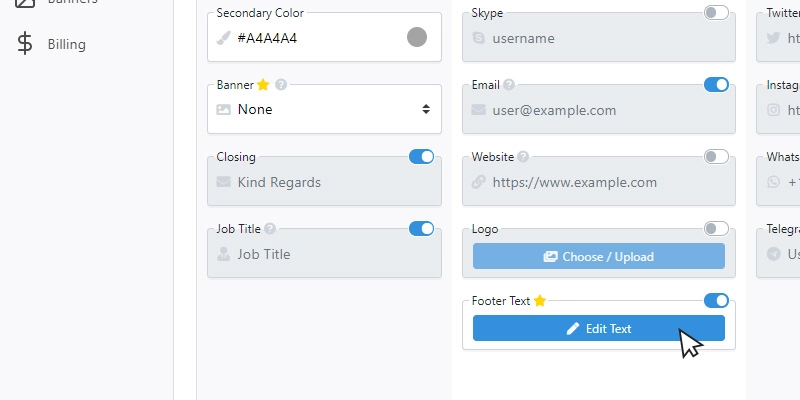
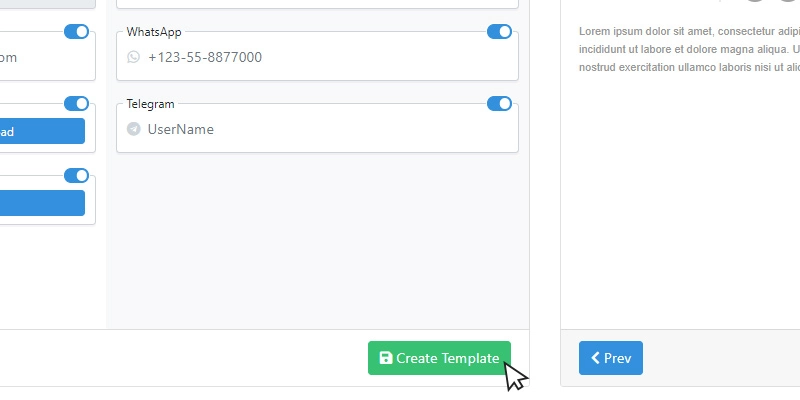
10. Include other social media accounts and WhatsApp/Telegram numbers

11. Select your preferred design from among the various templates
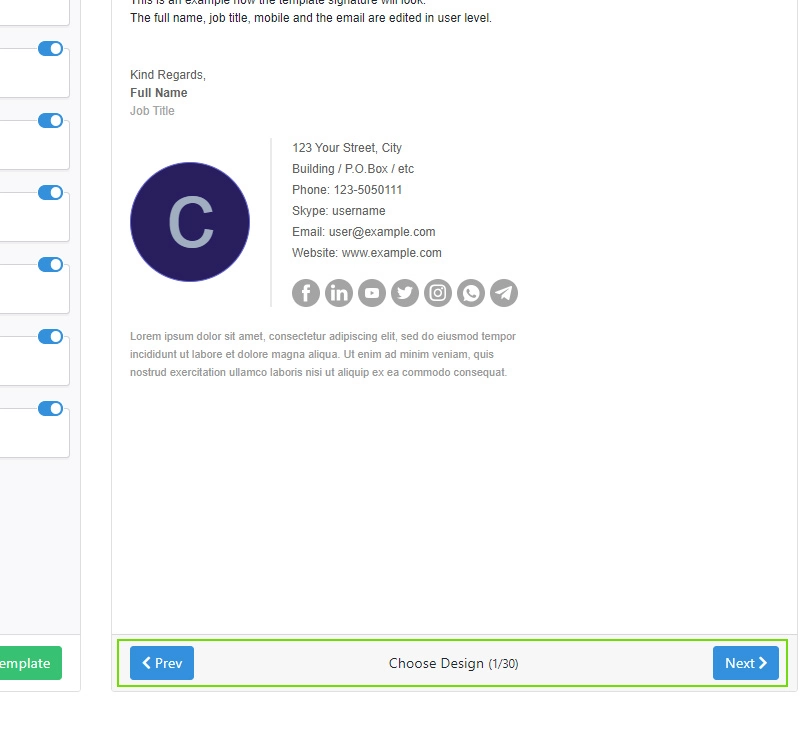
Setting a template enables you to decide on the design and features of your signature. This template will be replicated when editing the email signatures of all your team members. The settings of the chosen template will determine the appearance and structure of the email signatures among all users to whom you apply the template.
12. Save the chosen template