
How do I upload and manage banners using Signite?
Signite lets you upload banners to a purpose built module.
Some email providers may block dynamic banners when receiving emails.
For these specific cases, Signite provides an option to link to images hosted externally and use them instead of the default module.
When creating a new banner, you may choose between an Internal banner (1) or External one (2) based on your need.
See the steps below for more:
1. Internal banner creation
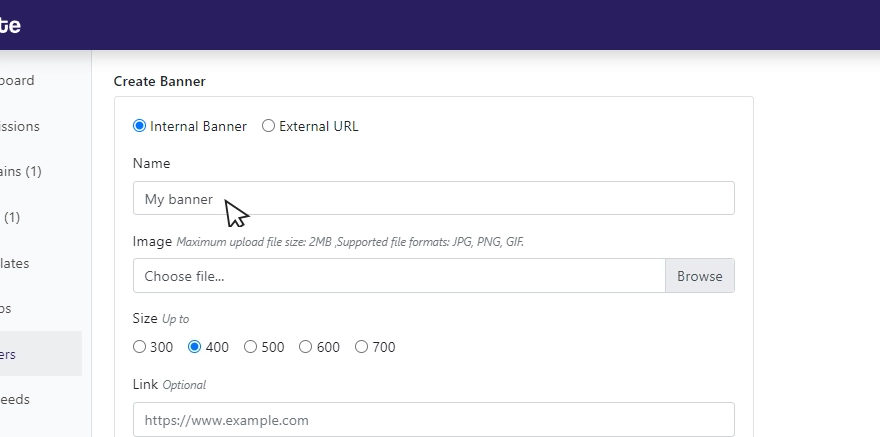
1.1. Choose the Internal banner option
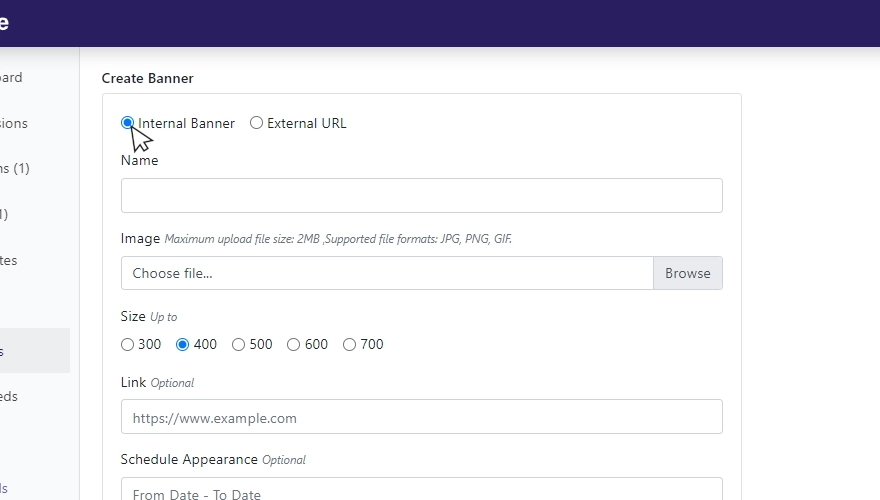
1.2. Set a name for the banner.
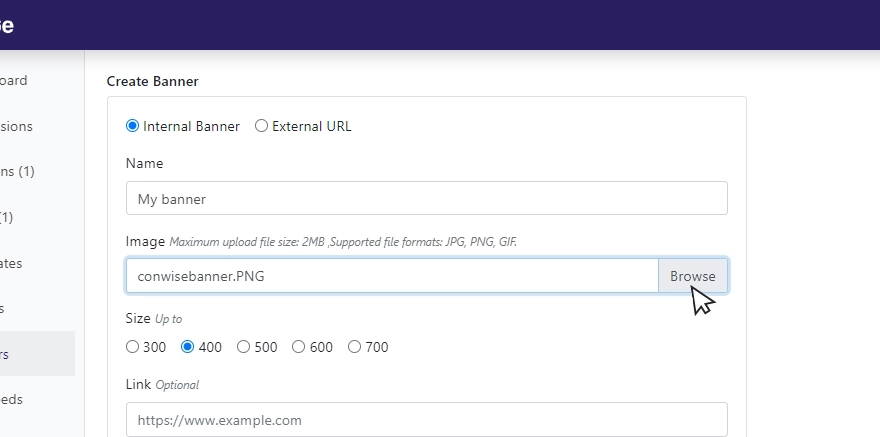
1.3. Upload the banner image (take note of the recommended sizes).
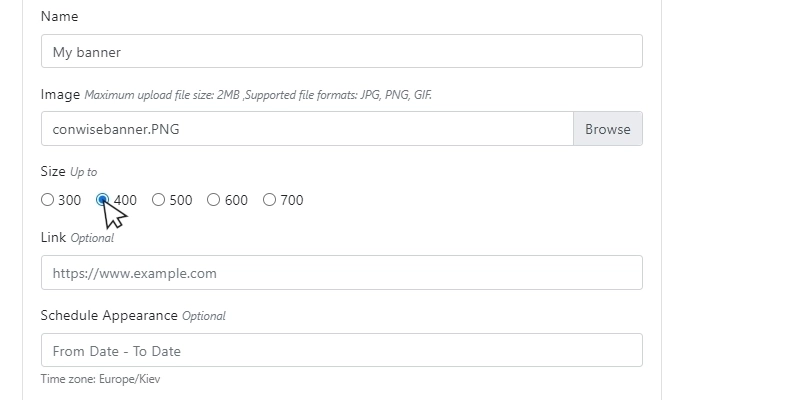
1.4. Choose the banner’s size from the available options
Choose the banner’s size from the available options.
Larger PNG and JPG images will be resized to the chosen option.
GIF images must be uploaded in the exact size listed, as it will not be resized.
Note: Retina screens require that you upload the image in double the final size in order to not appear blurred.
See more about Retina support in the following guide:
https://www.signite.io/guides/activate-retina-support/
1.5. Optional: Set a URL for the banner (optional).
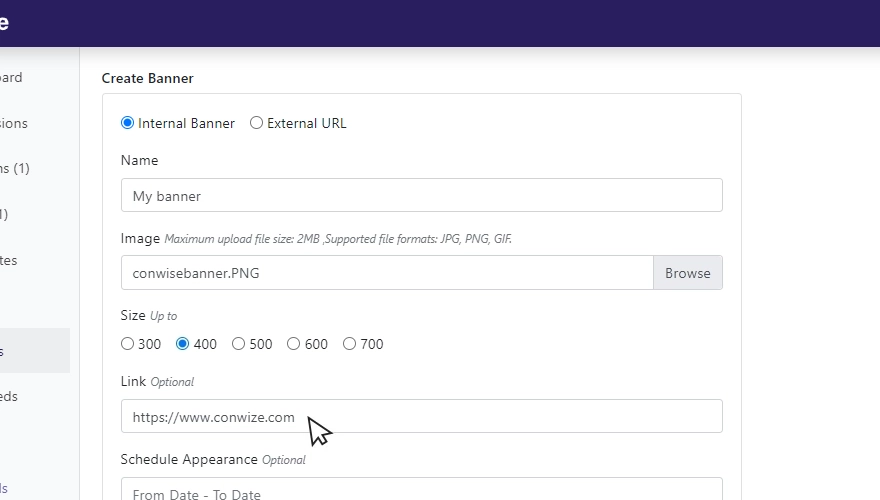
1.6. Optional: Time the appearance of the banner within the signatures.
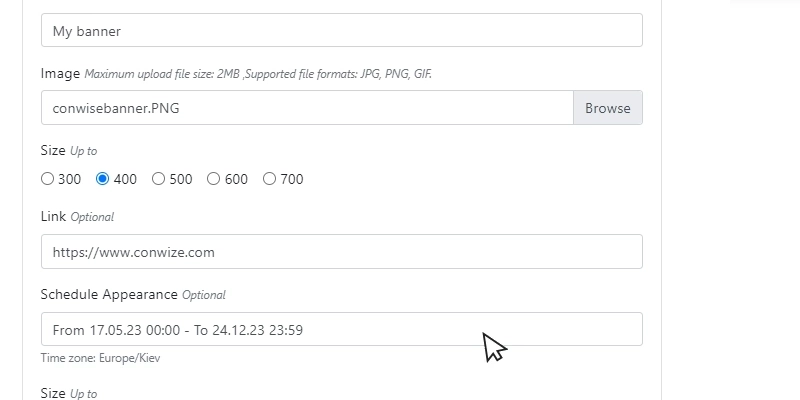
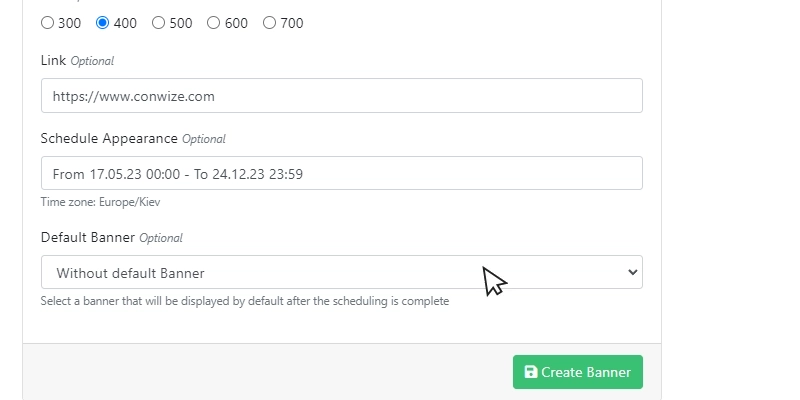
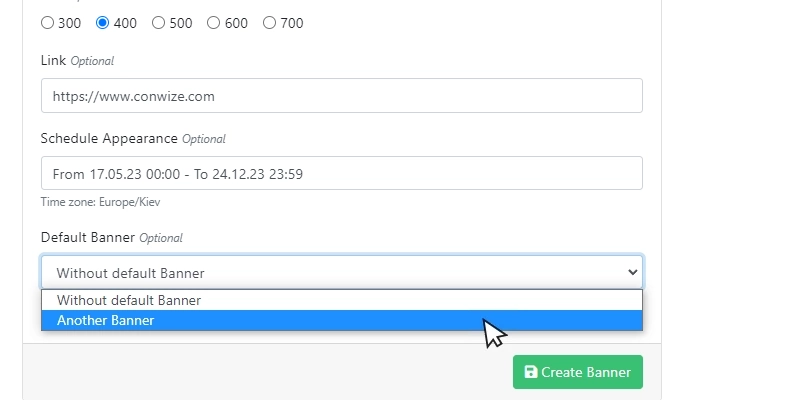
If you have more than one banner on your account, you can set a default banner, to show up when this banner’s schedule runs out.
To set up the default banner, use the default banner field to choose out of the existing list of banners
If you wish to integrate a banner into your email signature, upload and save the banner beforehand, and then select it in the signature editing tool.
2. External banner creation
2.1. Choose the external banner option
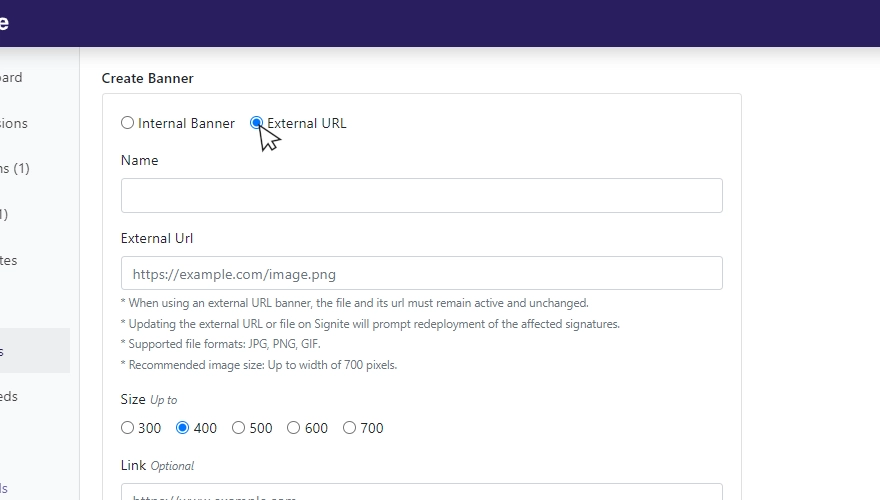
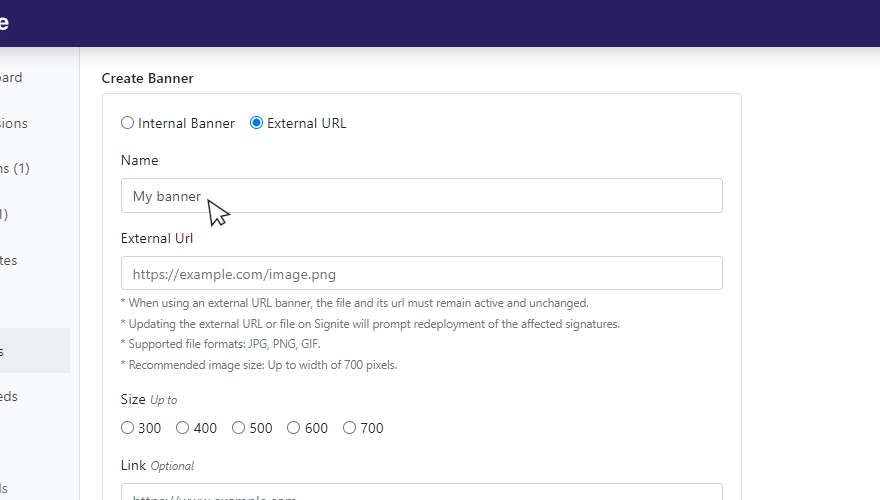
2.2. Set a name for the banner.
2.3. Enter the link to the externally hosted image
Make sure that your externally hosted image is available and active, otherwise it may not load on Signite or your deployed signature.
Any change to this link after initial deployment will prompt the signatures containing it to re-deploy.
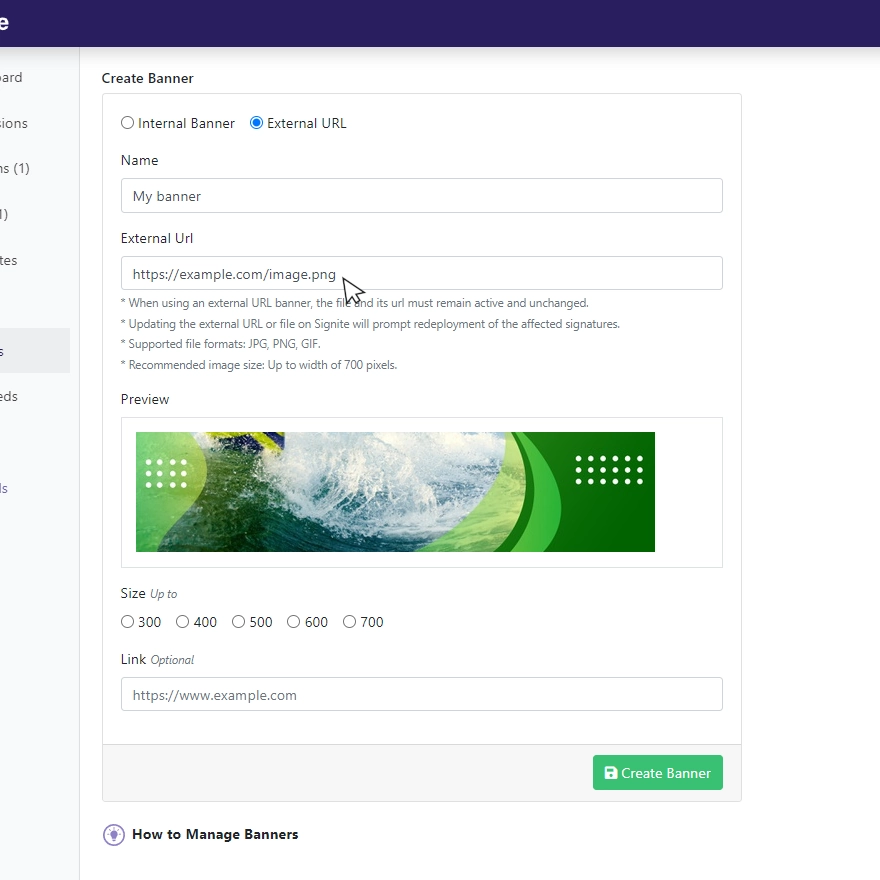
2.4. Choose the banner’s size from the available options
Choose the banner’s size from the available options.
Larger PNG and JPG images will be resized to the chosen option.
GIF images must be uploaded in the exact size listed, as it will not be resized.

Note: Retina screens require that you upload the image in double the final size in order to not appear blurred.
See more about Retina support in the following guide:
https://www.signite.io/activate-retina-support/
2.5. Optional: Set a URL for the banner.

3. Assigning banners to your template
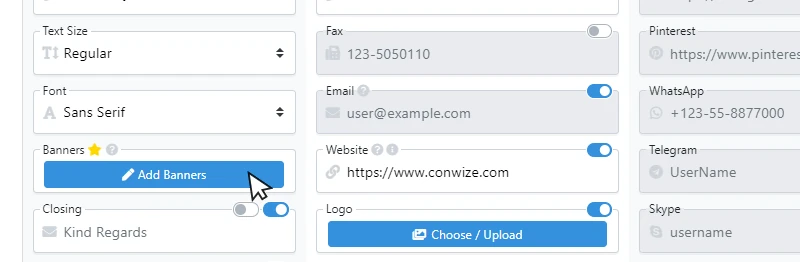
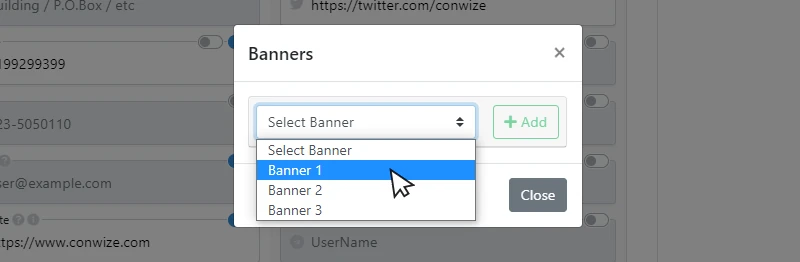
Once you’ve created a template using the Template Creation Guide, you may choose to add the banner created in this guide to your newly created template. To do that, go to your template, and under the Banners field, click the Add Banners button
A pop up window will appear, which will allow you to choose from your banners and assign them to the template.
You can choose up to 3 banners to assign to each template.
You can also change the order of the banners by dragging the banner to its position after adding it.
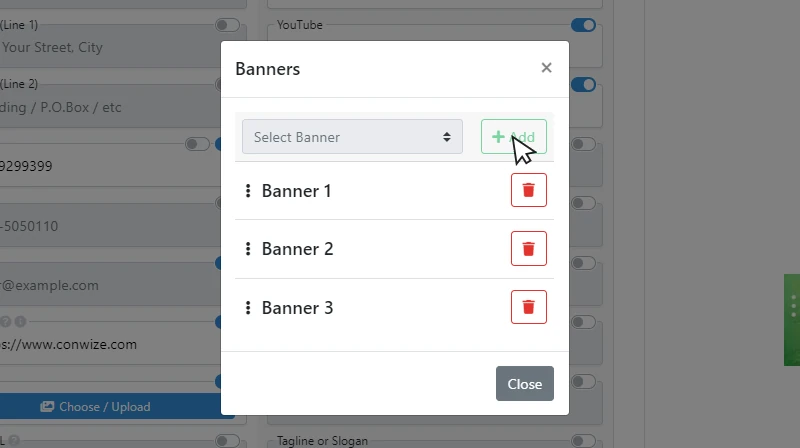
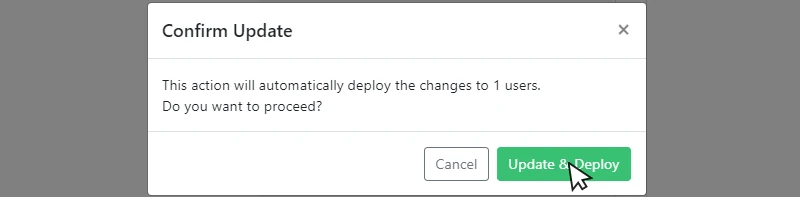
After choosing your banners, update the template.
Depending on whether the template is already assigned and deployed to a user, it may prompt a new deployment upon update.
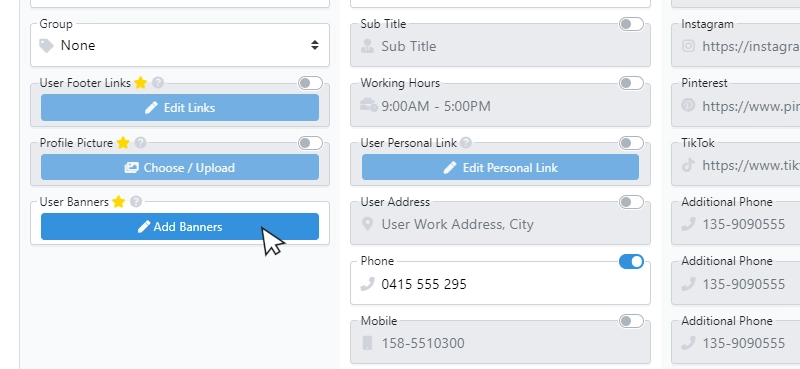
4. Assigning banners to a user
Assigning a banner to a single user can be done from the user’s editing screen, by opening the User Banners menu and choosing the banners to show only on that specific user’s signature
If you have any questions, please contact us at support@signite.io